
How-To Guides
Dolls House Wallpapering
From choosing the right 1:12 scale paper to a crisp, bubble-free finish — a beginner-friendly guide to papering your miniature rooms.
Whether you are building a new dolls house from scratch or renovating a much-loved old one, wallpapering the interior is one of the most important steps in completing the look. It can feel like a daunting task, especially for beginners — but with the right tools, materials and techniques, anyone can achieve a professional finish. This guide walks you through the whole process, one step at a time.
Step by Step
How to Wallpaper a Dolls House
Choose the Right Paper
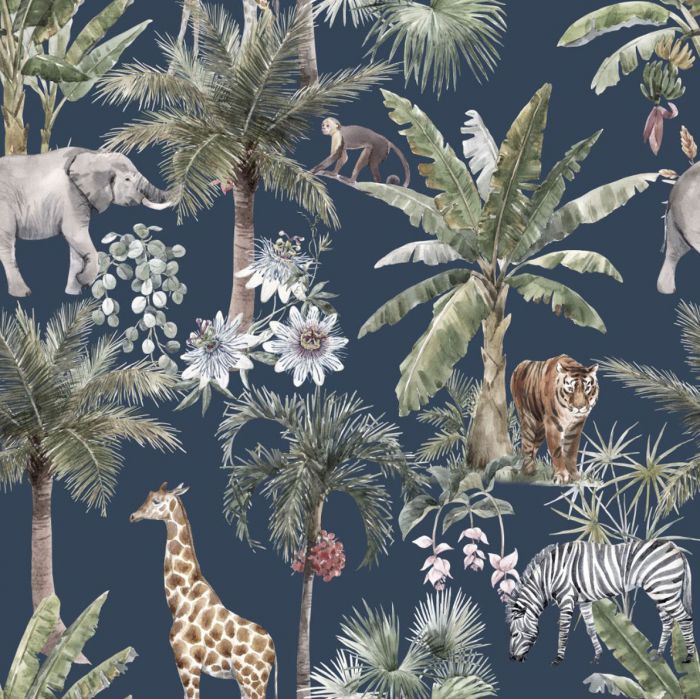
There are three main types of dolls house wallpaper. Traditional printed paper is the most cost-effective, but needs paste applied to the back. Self-adhesive wallpaper is easy to use, though it can be more expensive. Textured wallpaper adds lovely depth and dimension to a room, but takes a little more skill to hang.
Whichever you choose, make sure it is scaled to your house. Our dolls house wallpaper is all 1:12 scale — one inch of wallpaper in the dolls house equals one foot in real life. Some houses use different scales, so measure the height and width of your walls before you buy.
Prepare the House
Start by wiping the walls with a damp cloth or sponge to remove any dust or debris. If there is existing wallpaper, sand it down or strip it completely so the new paper has a smooth surface to grip. If you are papering over painted walls, a coat of wallpaper primer will help the paper adhere properly.
Measure & Cut
Measure the height and width of each wall, adding an extra inch or two so you have enough paper to cover the whole surface. Mark the measurements on the back of the wallpaper in pencil, then cut along a straightedge or ruler, keeping the edges straight and even. With printed wallpaper, take care to match the pattern at the seams.
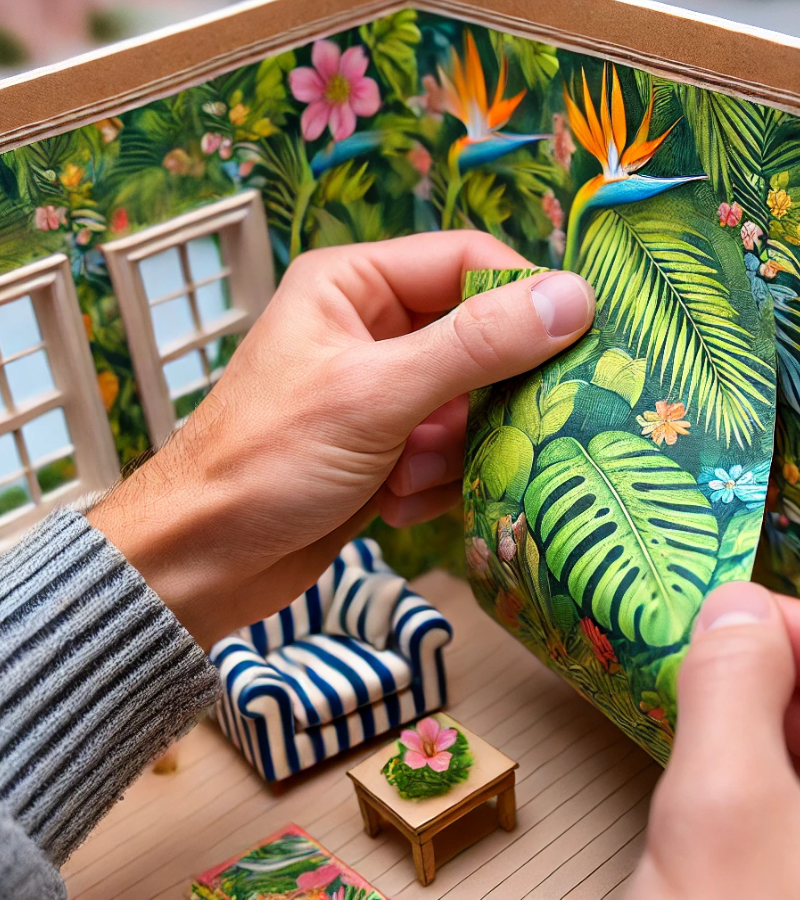
If you are using self-adhesive paper, peel off the backing, align the paper carefully with the top edge of the wall and smooth out any bubbles or wrinkles with a wallpaper brush or your fingers.
Paste & Hang
For traditional printed wallpaper, follow the instructions on the paste packet for the correct mixing ratio, then brush the paste evenly over the back of the paper, covering the edges and corners well.
Align the pasted paper with the top edge of the wall and smooth it down with a wallpaper brush or your fingers. Trim any excess from the edges and corners with a craft knife, and smooth away any air bubbles or wrinkles as you go.
Finishing Touches
Once every wall is papered, check for small gaps or uneven areas along the edges and corners — a craft knife or scissors will tidy any excess and leave a clean edge. With textured wallpaper, a small brush or sponge can be used to fill in gaps and crevices.
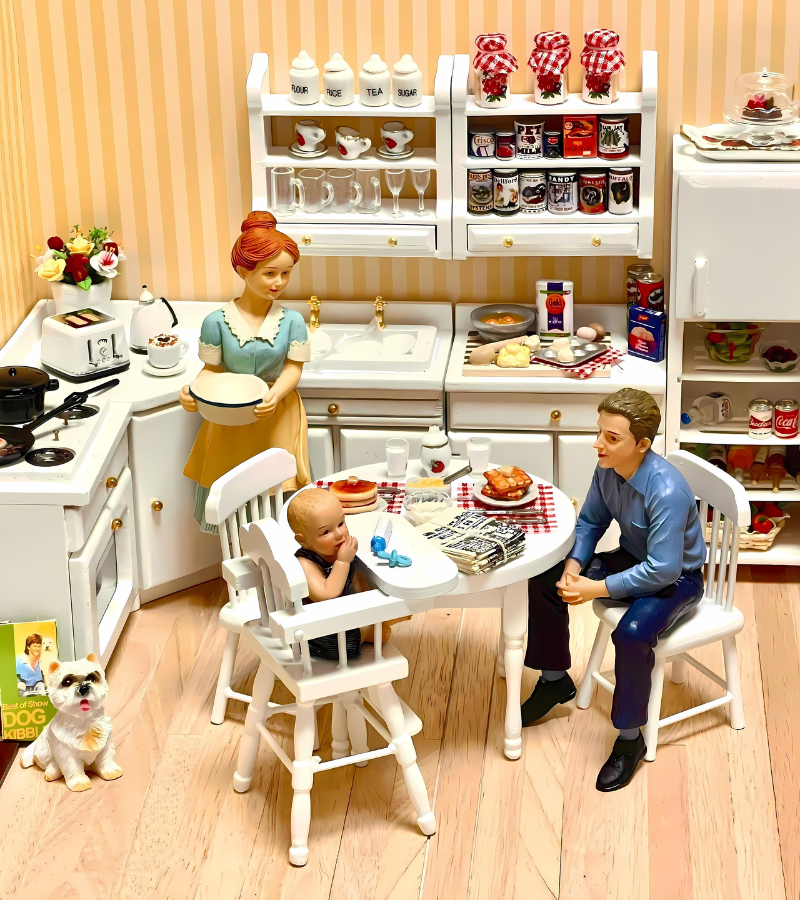
For extra detail, consider adding wallpaper borders or accents cut from the same paper or a complementary design, applied along the tops of walls or around doors and windows. Then, once everything is completely dry, add furniture, décor and accessories — and enjoy a charming miniature room that reflects your own style.
Papered & Ready to Decorate?
Explore our full decorating range — papers, paints, flooring and everything in between.
Shop DecoratingShop the Range
Popular Departments



Keep Exploring
More From Our Guides
Building & Decorating
The basics of assembling and decorating a dolls house from the ground up.
View Guide →Essential Tools
The small tools every miniaturist should keep close to hand.
View Guide →Cleaning a Dolls House
How to keep your dolls house and miniatures looking their very best.
View Guide →Need some help? Contact Us